އީމެއިލް ހުސް ނުކުރެވޭނެ
ޕާސްވޯޑް ހުސް ނުކުރެވޭނެ
އީމެއިލް ފޯމެޓް ގޯސްވެއްޖެއެވެ
އީމެއިލް ހުސް ނުކުރެވޭނެ
އީމެއިލް މިހާރުވެސް އެބައޮތެވެ
6-20 އަކުރު(އަކުރު ޕްލަސް ނަންބަރުތަކަށް އެކަނި)
ޕާސްވޯޑް އެއްގޮތް ނުވާތީއެވެ
އީމެއިލް ފޯމެޓް ގޯސްވެއްޖެއެވެ
އީމެއިލް ހުސް ނުކުރެވޭނެ
އީމެއިލް އެއް ނެތެވެ
6-20 އަކުރު(އަކުރު ޕްލަސް ނަންބަރުތަކަށް އެކަނި)
ޕާސްވޯޑް އެއްގޮތް ނުވާތީއެވެ


How to Thoroughly Maintain and Clean Your Ozone Water Flosser?
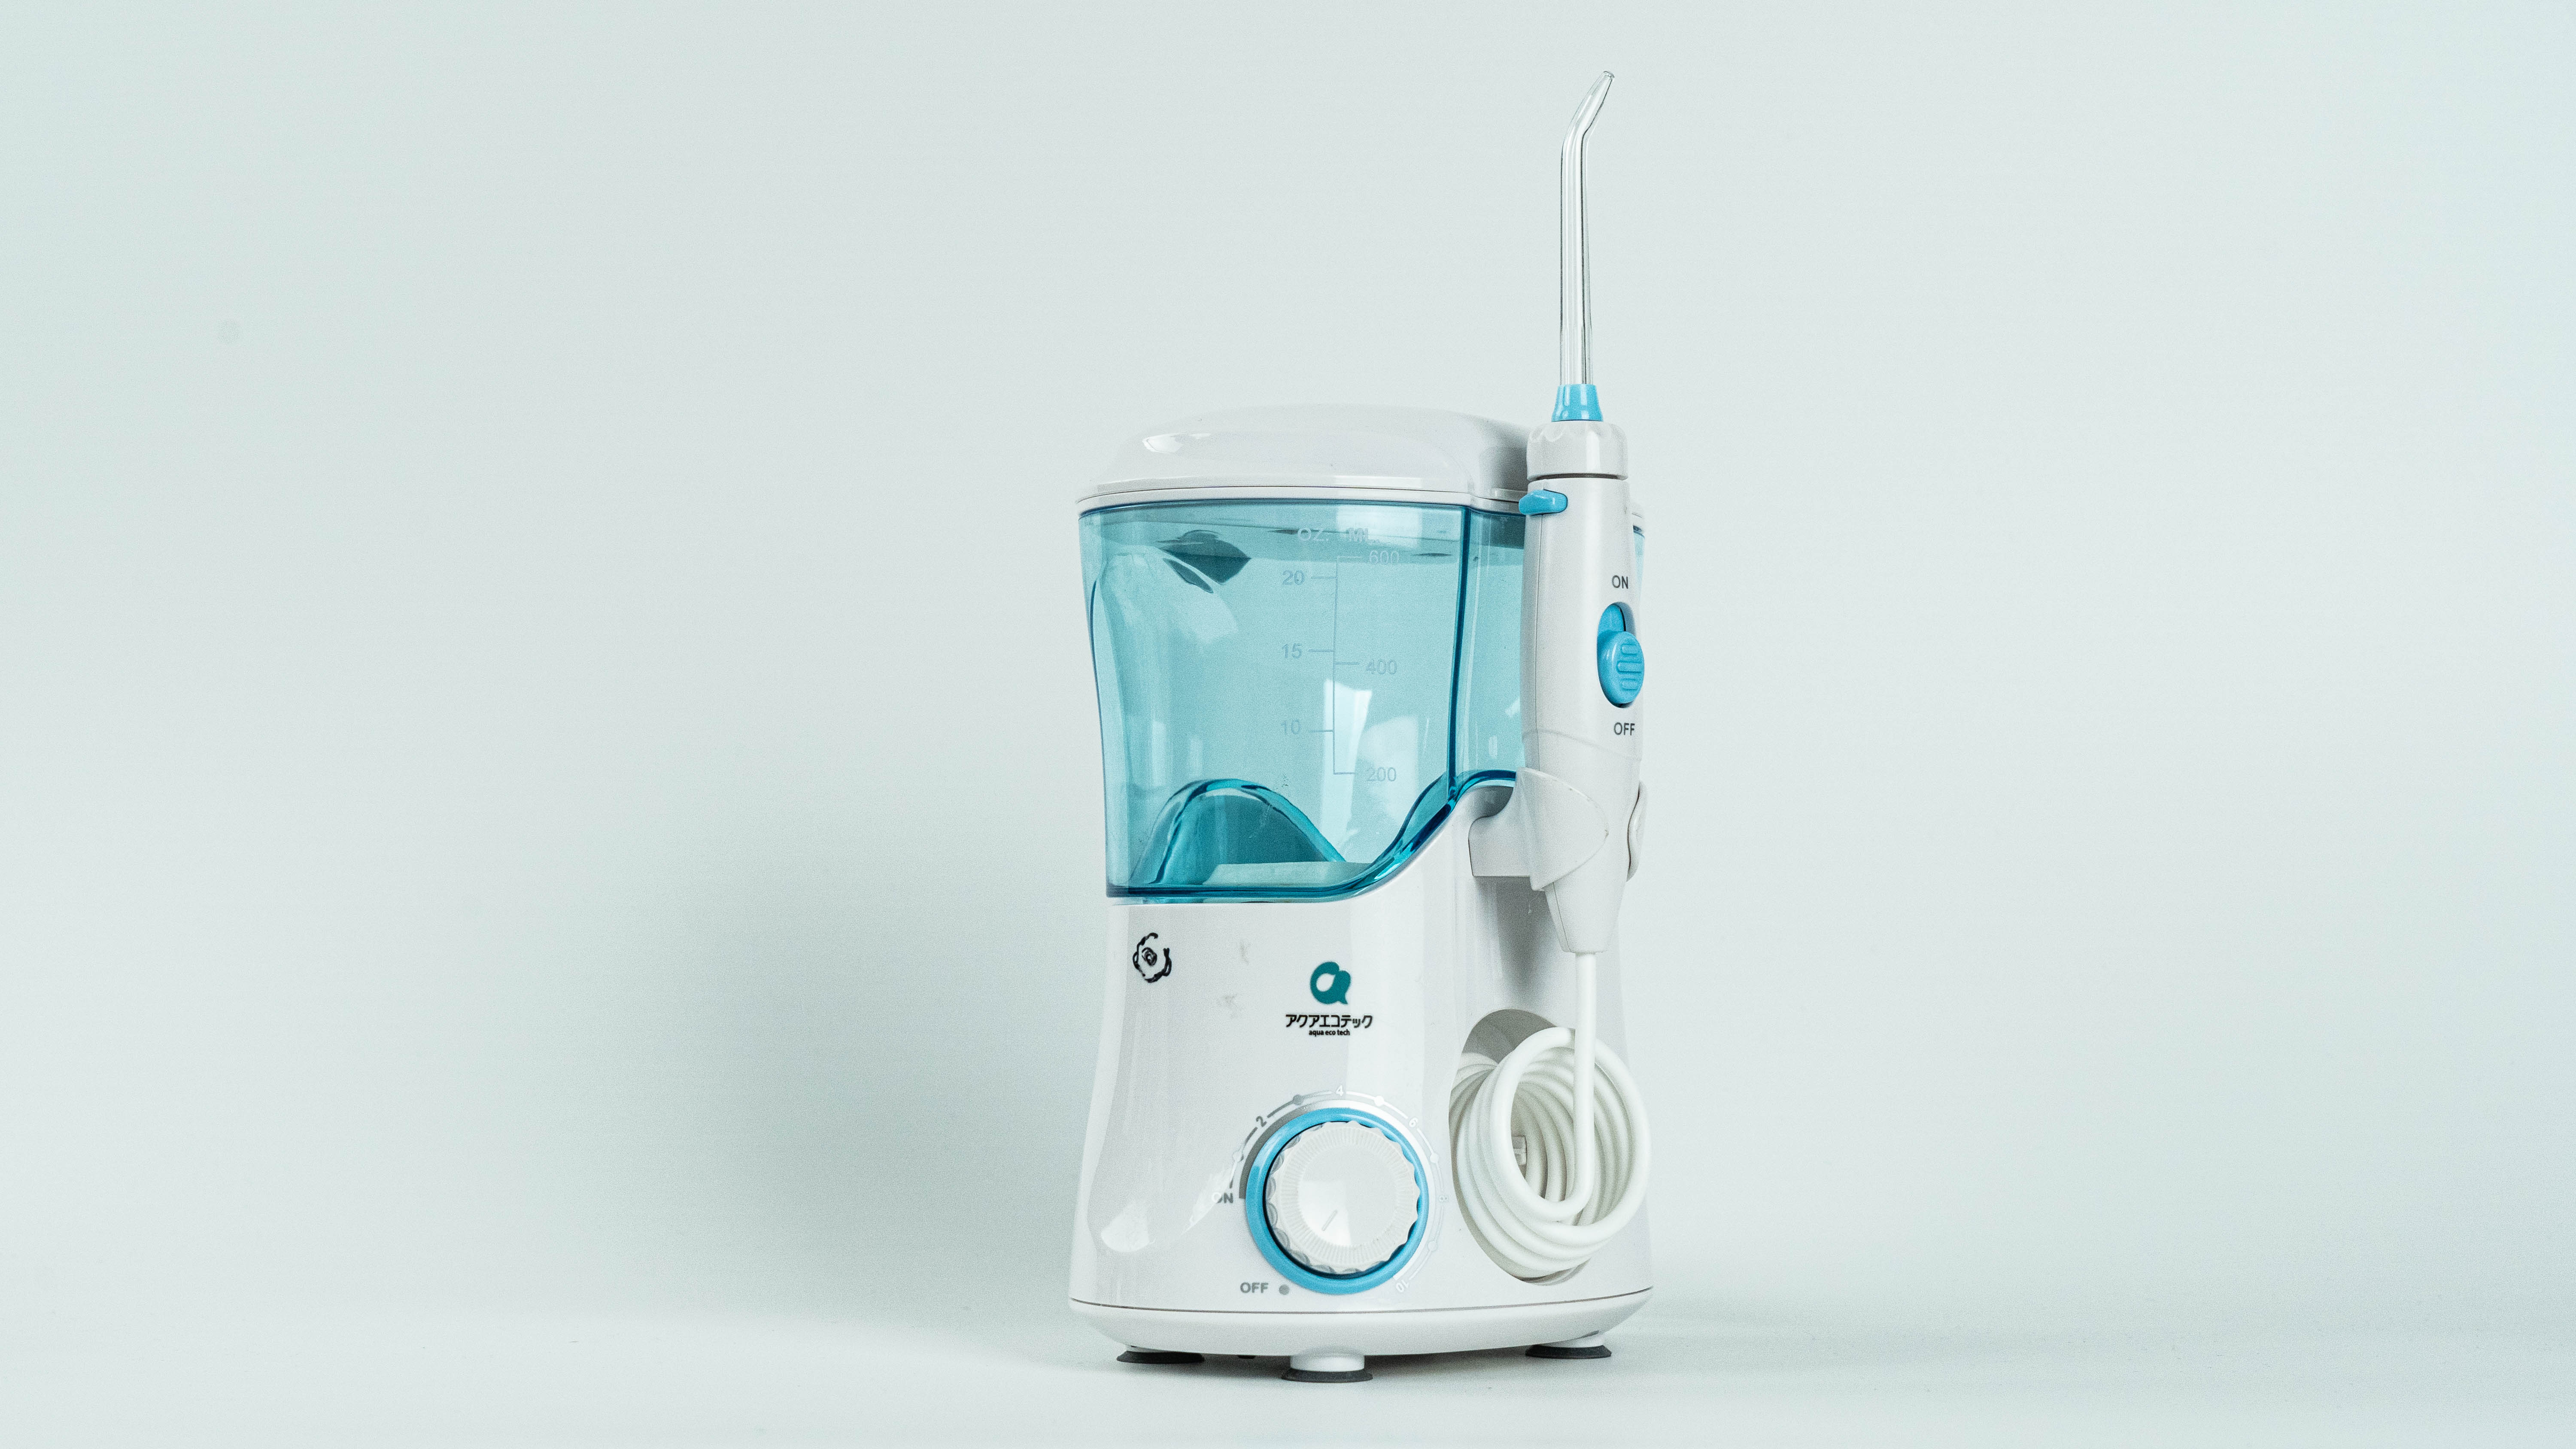
Ozone water flossers are innovative dental devices that use a combination of water and ozone to remove plaque and debris from the teeth and gums. To ensure their optimal performance and longevity, regular maintenance and cleaning are crucial. This blog post will guide you through the step-by-step process of properly maintaining and cleaning your ozone water flosser.

I. Preparation:
Before starting the maintenance and cleaning procedures, gather the following items:
1. Soft cloth or towel
2. Mild dish soap or vinegar solution
3. Clean water
4. Replacement tips (if needed)
II. Regular Cleaning:
1. Disconnect the unit: Begin by unplugging the flosser from its power source.
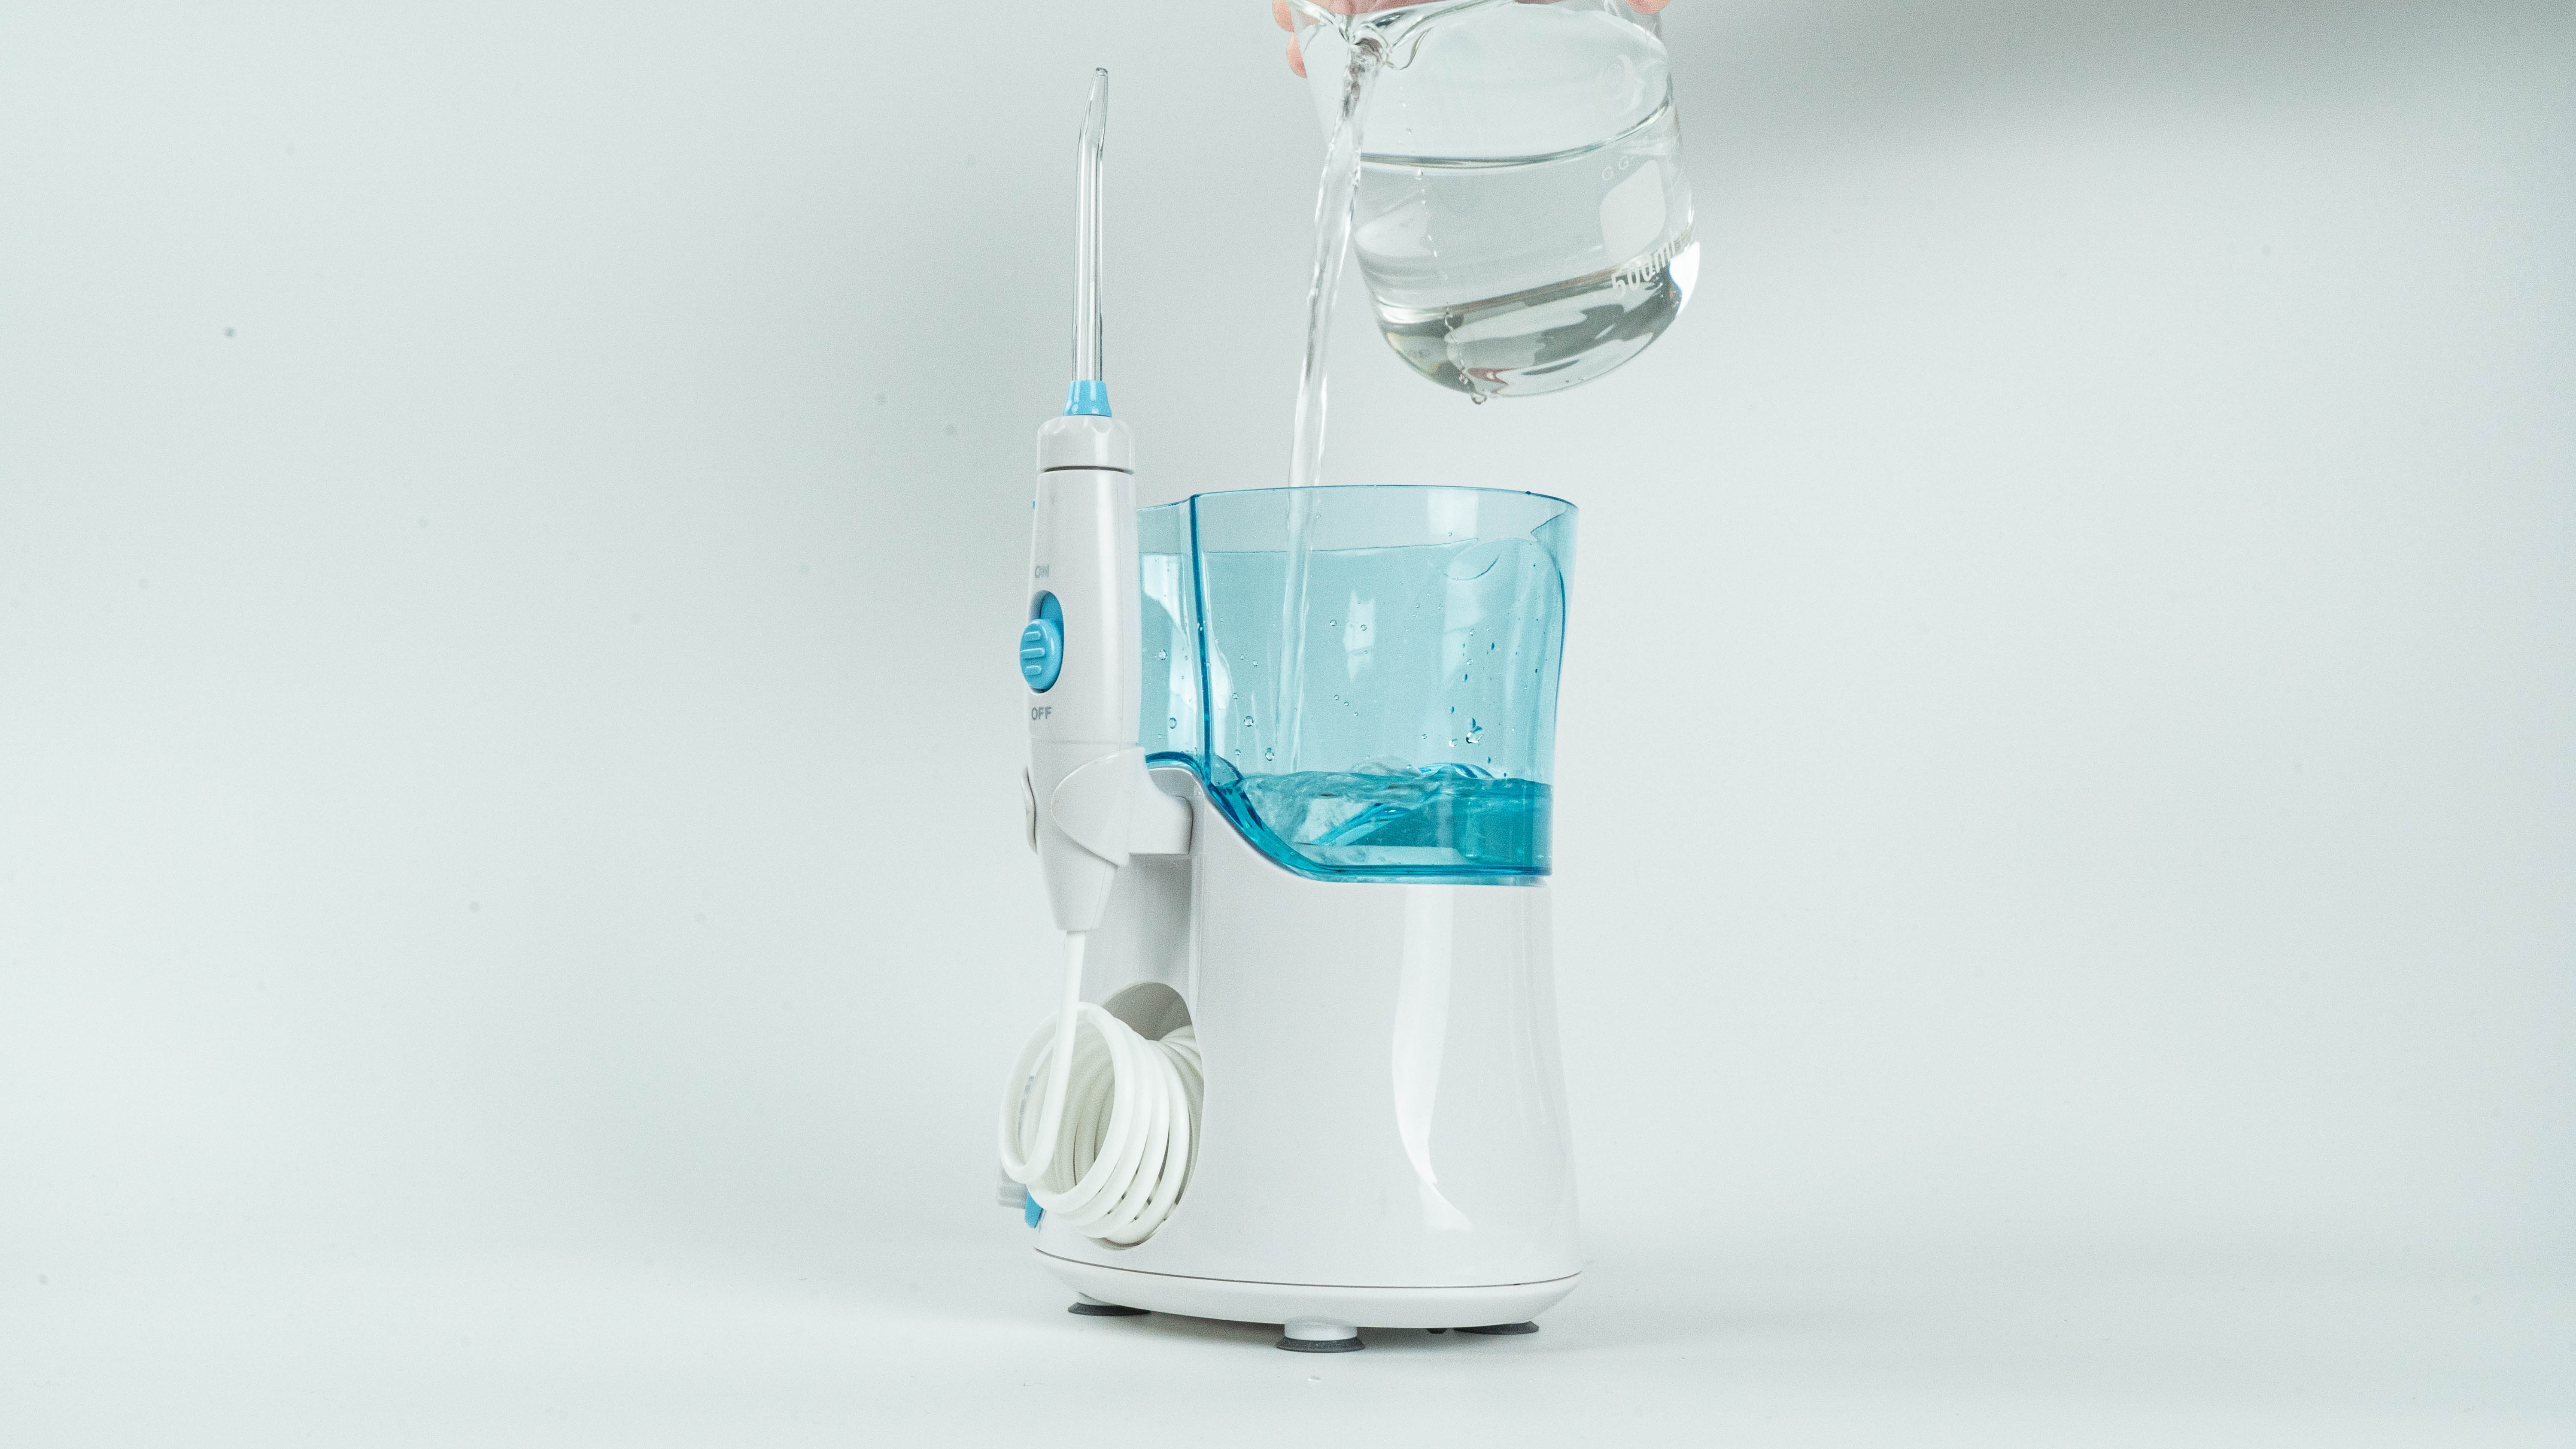
2. Empty the reservoir: Remove the water reservoir and empty any remaining water into the sink.
3. Rinse the reservoir: Rinse the reservoir with warm water to remove any debris or residue.
4. Clean the reservoir and lid: Use a mild dish soap or vinegar solution to clean the reservoir and its lid. Gently scrub the surfaces with a soft cloth or brush, paying close attention to hard-to-reach areas.
5. Rinse and dry: Rinse the reservoir and lid thoroughly with clean water, then dry them using a soft cloth or towel.
III. Deep Cleaning:
Perform a deep cleaning procedure at least once a month to remove any build-up or bacteria that may have accumulated.
1. Prepare a cleaning solution: Mix equal parts of vinegar and water or use a mild denture cleaner in a separate container.
2. Submerge removable parts: Disassemble the flosser as per the manufacturer's instructions, if possible. Soak the removable parts, such as the water reservoir, tips, and nozzle, in the cleaning solution for about 15-30 minutes.
3. Scrub and rinse: After soaking, gently scrub the parts with a soft brush or cloth to remove any remaining residue or build-up. Rinse all parts thoroughly with clean water.
4. Dry and reassemble: Once cleaned, dry all components with a cloth and reassemble the flosser according to the manufacturer's instructions.
IV. Replacing Tips:
Regularly inspect and replace the flosser tips to maintain optimal performance and hygiene levels.
1. Check for wear: Regularly examine the tips for any signs of wear, such as fraying or discoloration.
2. Replace as needed: If the tips exhibit signs of wear or you have been using them for an extended period, replace them with new ones as recommended by the manufacturer.
Conclusion:
Proper maintenance and regular cleaning are essential for the longevity and effectiveness of your ozone water flosser. By following the outlined steps, you can ensure optimal hygiene and maximize the benefits of this innovative dental tool.
As a reputable supplier, we offer a wide range of high-quality ozone water flossers and replacement tips to meet your oral care needs. Visit our website or contact our customer support team for more information on our products and maintenance tips to keep your flosser in perfect condition.


